

Boost MP4 Volume Online Free (2026): Fix Quiet Videos in Your Browser
Boost MP4 Volume Online Free (2026): Fix Quiet Videos in Your Browser
You open a Zoom recording, phone lecture, or street interview and the picture is fine — but everyone is whispering. Viewers leave within seconds, classmates ask you to resend, and platforms that auto-normalize loudness can still leave soft captures hard to hear on laptop speakers. This guide shows how to boost MP4 volume online free, when to raise gain versus normalize loudness, and how to avoid the harsh clipping that ruins “too quiet” fixes.
Why quiet MP4s are so common in 2026
Quiet files are rarely a “player bug.” They usually come from capture and export choices:
| Cause | What you hear | First fix |
|---|---|---|
| Mic gain set low / far subject | Whole track soft | +3 to +6 dB gain |
| Laptop AGC failed in meetings | Voices dip and rise | Gentle boost + trim dead air |
| Phone in landscape, mic covered | Muffled + low | Boost carefully; prefer re-record next time |
| Platform loudness pass after upload | Sounds OK on phone, tiny on TV | Check true peak, then re-export |
| Stereo imbalance / weak dual-mono | One side disappears | Check channels, then raise overall |
Email and chat apps also encourage short clips, so people export aggressively compressed MP4s with thin audio bitrates. That does not always lower volume, but it makes soft speech noisier when you later boost. For attachment size rules that force re-exports, see Gmail’s attachment limits. For how browsers handle media, MDN’s Web media technologies overview is a solid primer.
Practical rule: Diagnose the kind of quiet first — uniformly soft vs. soft dialogue under loud music vs. only one section soft. Uniform soft → gain boost; uneven → normalize or fix segments.
Image: typical “picture OK, audio too soft” lecture and meeting clips.
Method A: Boost MP4 volume in the browser with CutFast
When you only need louder speech and do not want to install an NLE, use a dedicated volume tool. CutFast Volume and the MP4-focused volume-mp4 path are built for this job: load a file, raise gain, preview, export — ideally with processing staying in your browser so confidential lectures never have to leave the machine.
Four-step workflow
- Open CutFast Volume or volume-mp4.
- Drop your MP4 / MOV (or pick from disk). Prefer the original export, not a third re-encode.
- Raise gain in small steps. Start around +3 dB (noticeable) or +6 dB (clear lift). Preview peaks and listen on headphones and laptop speakers.
- Export, then spot-check the loudest laugh, clap, or “thank you” at the end — those peaks clip first.
If the video is long and only the middle section matters, trim first so you are not boosting minutes of silence. If you need an audio-only deliverable for a podcast pipeline, extract audio after the volume fix (or extract first, fix audio, remux later).
Practical rule: Never slam the slider to maximum on the first try. If you hear crackle, back off about 2 dB and re-preview. Clipping cannot be “normalized away” later.
Gain cheatsheet (starting points, not law)
| Adjustment | Typical use | Clip risk |
|---|---|---|
| +3 dB | Slightly soft phone clip | Low |
| +6 dB | Meeting / lecture “too quiet” | Medium — preview |
| +9 to +12 dB | Extremely distant mic | High — expect noise lift |
| +12 dB+ | Last resort | Very high; re-record if possible |
After a heavy boost, if speech is loud but uneven across chapters, run normalize loudness as a second pass toward platform targets (see LUFS section below) instead of stacking more raw gain.
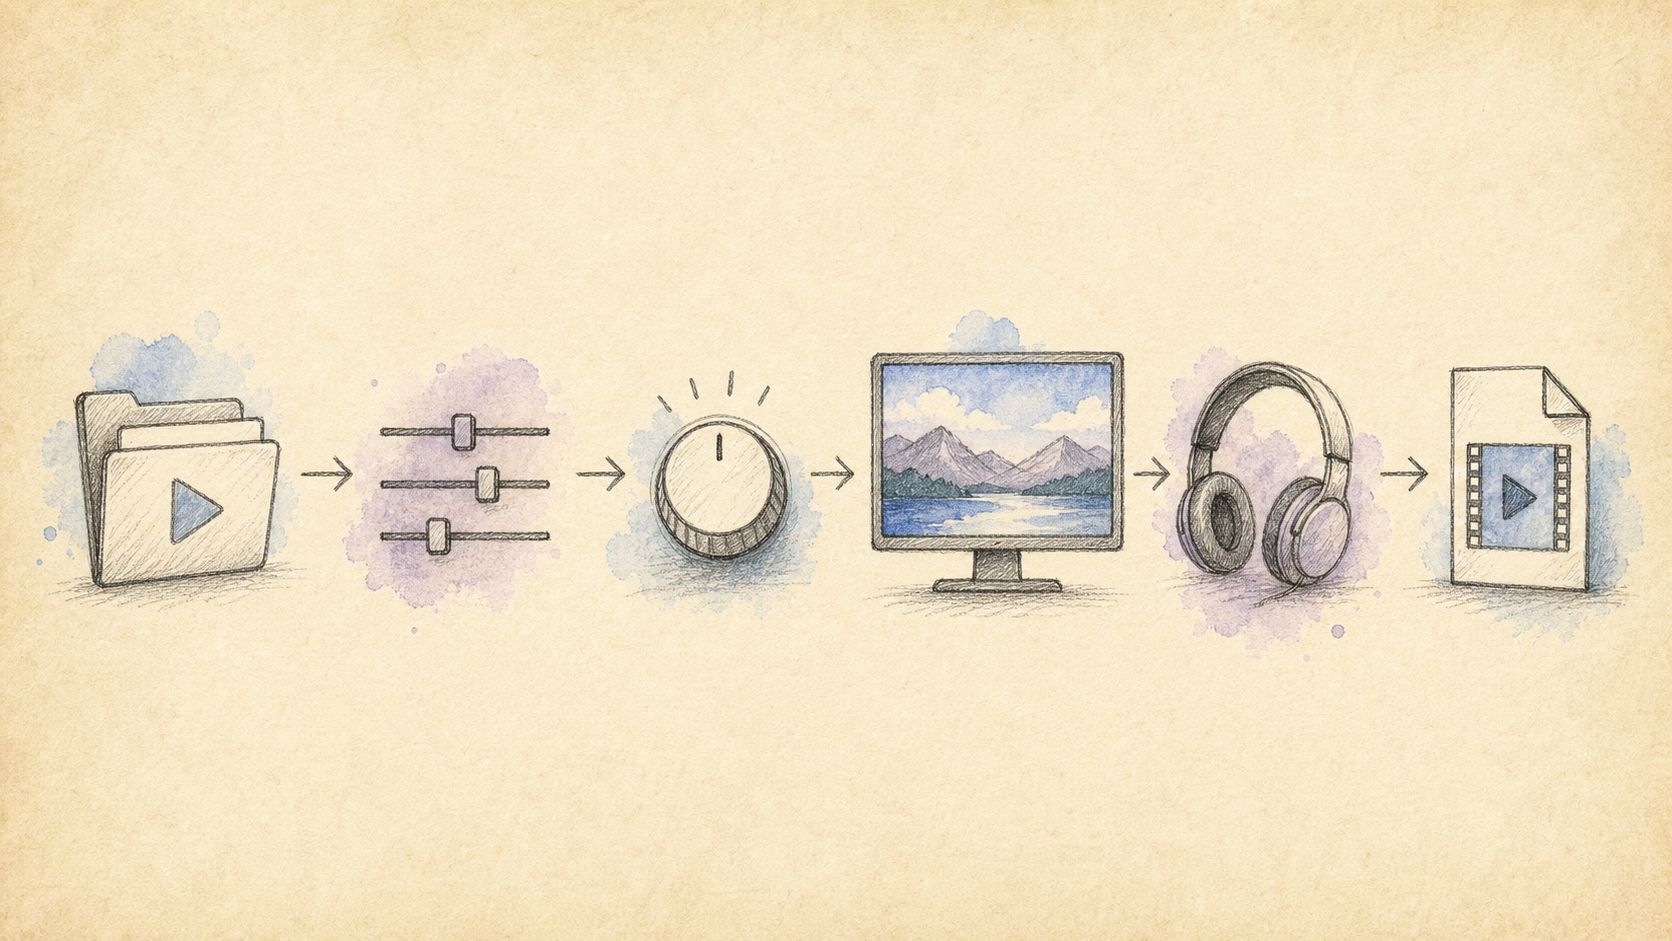
Image: browser volume workflow — raise gain, preview peaks, export.
Method B: Alternatives (desktop, normalize, re-record)
Not every quiet file wants a simple gain slider. Keep these alternatives in your toolkit:
1) Loudness normalization (LUFS), not just “louder”
Gain multiplies the waveform. Loudness normalization aims for a perceived loudness target (LUFS) used by streaming and broadcast. EBU R 128 and related loudness work are documented in ITU / broadcast practice; Wikipedia’s LKFS / LUFS page is a readable overview, and the ITU site hosts the standards lineage. For podcast and YouTube-style targets, use normalize loudness after a safe boost, or instead of a boost when the problem is “quieter than other episodes,” not “inaudible on speakers.”
2) Desktop editors (Audacity, DaVinci, Premiere)
Desktop tools offer multi-band EQ, noise reduction, and sidechain. They win when you need surgical cleanup. They lose when the job is “make this one MP4 6 dB louder before class.” Installing and learning a full editor for a single clip is usually slower than an online volume pass.
3) Re-record / better capture
If SNR (signal-to-noise) is terrible, boosting only raises the hum. Fix capture next time: closer mic, external lav, disable noisy AC, speak up. For HTML5 and capture constraints, MDN’s media docs again help developers; for creators, closer mic beats any slider.
4) Platform player volume only
Telling viewers to “turn it up” fails on autoplay muted feeds and shared classrooms. Bake a reasonable level into the file.
Practical rule: Use boost when the whole file is soft; use normalize when average loudness is inconsistent with a catalog or platform; re-record when noise is louder than speech after +6 dB.
Comparison: boost gain vs normalize vs re-encode tricks
| Approach | Best for | Risk | Speed |
|---|---|---|---|
| Online gain boost (volume) | Uniformly quiet MP4 | Clipping / noise | Fastest |
| LUFS normalize (normalize-loudness) | Episode / platform consistency | Can still clip if true peak ignored | Fast |
| Extract audio → fix → remux (extract-audio) | Podcast / LINE audio delivery | Workflow steps | Medium |
| Desktop NLE + noise reduction | Noisy distant mics | Time / learning curve | Slow |
| Just raise player volume | Personal listening only | Others still hear quiet file | Instant, incomplete |
Also note: converting containers alone (convert) does not fix volume. Compressing video (compress-video) for size limits should happen after audio is correct so you do not re-encode twice.
Advanced tips: clean louder audio without wrecking the file
- Trim first. Dead air at the start and end wastes processing and confuses loudness meters. Use trim.
- Preview on two devices. Soft laptop speakers hide clipping that earbuds reveal.
- Watch true peak, not only “sounds loud.” Percussive consonants and laughter spike first.
- Avoid stacked re-encodes. Boost once on a high-quality source; then compress for Gmail/Discord size if needed.
- Separate music beds. If BGM buries speech, lower music at source or extract and remix — pure gain cannot invent dialogue clarity.
- Match catalog levels. Course modules should feel similar episode-to-episode; normalize after individual boosts.
- Privacy. Prefer browser-local tools for client calls and student faces; avoid random “upload then download” sites when policy forbids cloud media.
Practical rule: Order of operations for most soft lectures: trim → gentle boost → optional LUFS normalize → compress/share.
External references worth bookmarking:
- Gmail attachment size help — when size, not volume, blocks delivery
- MDN Web Media — how browsers play audio/video
- LKFS / LUFS (Wikipedia) — perceived loudness basics
- ITU — broadcast loudness standards home
- YouTube help: audio — platform-side audio behavior for uploaders

Image: boost for soft captures, normalize for catalog consistency.
Frequently asked questions
Will boosting MP4 volume reduce video quality?
Volume tools mainly change the audio track. If the tool re-encodes video as well, keep bitrate high enough for your delivery, or choose an audio-centric path. Prefer a single quality-aware export over multiple compress-then-boost cycles.
Is +10 dB always better than +6 dB?
No. Each +6 dB roughly doubles perceived amplitude in a simplified sense; noise rises with the signal. If +6 dB is enough on speakers, stop. Extra gain only buys distortion.
Boost volume or normalize loudness — which first?
If speech is globally inaudible, boost first until it is usable, then normalize toward a target LUFS so episodes match. If speech is already usable but quieter than other uploads, normalize alone may be enough.
Can I fix only the audio and keep the exact video stream?
Workflows that extract audio, process it, and remux can minimize video re-encoding. Start from extract-audio when your pipeline allows separate A/V steps.
Does this work for MOV, WebM, or MKV too?
Often yes after convert-to-MP4 or via multi-format volume tools. When a platform only accepts MP4, convert first, then boost.
Will the file be uploaded to a server?
CutFast volume tools are designed around in-browser processing so sensitive recordings do not need to leave your device. Always confirm the current product privacy notes for your compliance needs.
Raise the volume and ship the clip
Quiet video is a distribution problem, not a creativity problem. Confirm the platform limit, trim dead air, raise gain in small steps, and normalize only when catalog consistency matters. For the fastest free path, open CutFast Volume or volume-mp4, preview peaks, and export a file people can actually hear.
Need the full toolbox after audio is fixed? Continue with trim, compress-video, extract-audio, and normalize-loudness on cutfa.st.
— CutFast Team